Guide Get started
Getting started
Install the plugin, run the one-time Reason setup, and check that the deck follows your selection.
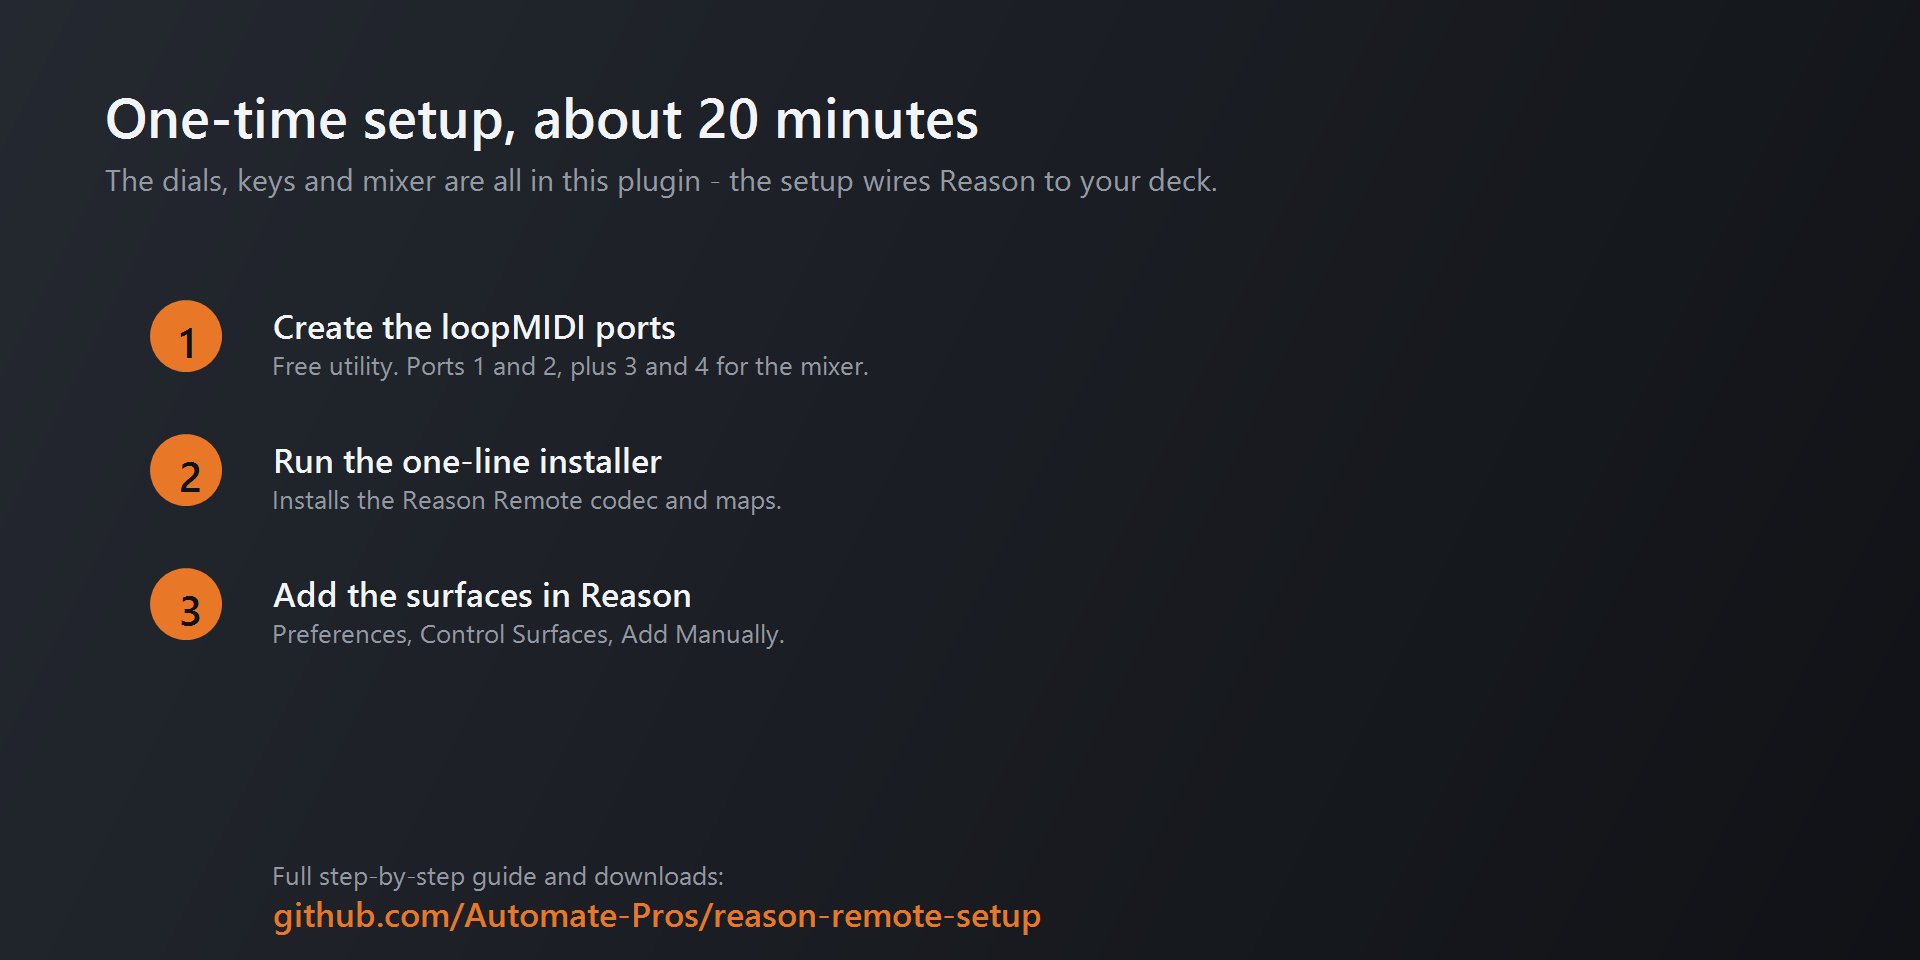
Reason Remote has two halves. The Stream Deck plugin draws the pages and switches between them. A Reason Remote codec tells the plugin what you selected and carries the dials to Reason. They talk over four virtual MIDI ports. Setup installs all three pieces once, and takes about 20 minutes.
What you need#
| Stream Deck | An Elgato Stream Deck +. The pages are built for its eight keys, four dials and touch strip. |
| Computer | Windows 10 or later, with Stream Deck software 6.9 or newer |
| Reason | Reason 12 or later, or Reason Recon |
| PowerShell 7 | Free from Microsoft: aka.ms/powershell. The installer needs pwsh, not the older Windows PowerShell. |
| loopMIDI | Free virtual MIDI ports. The installer offers to download it for you. |
No other Stream Deck plugin is needed. The dials, keys and mixer are all part of Reason Remote.
1. Install the plugin#
- Get Reason Remote or the free Reason Remote Lite from the Elgato Marketplace.
- When Stream Deck asks, accept the prompt to install the bundled profiles. They do nothing until Reason tells the plugin which device you selected.
2. Run the installer#
Close Reason, open PowerShell 7 and run:
irm https://raw.githubusercontent.com/Automate-Pros/reason-remote-setup/main/install.ps1 | iexThe installer:
- installs the Reason Remote codec and maps into Reason's Remote folders
- checks for loopMIDI and offers to install it
- creates
loopMIDI Port 1toloopMIDI Port 4, with Autostart on - registers both Reason Remote surfaces in Reason's preferences, on the right ports with Easy MIDI off (Reason 13 or later; it backs up your preferences first)
It ends with a summary of what it did and anything left for you to do.
3. Restart Reason#
Quit Reason completely and start it again. Reason only reads Remote maps at startup. Skipping the restart is the most common reason setup seems not to work.
If the installer's summary says you need to add the surfaces yourself (for example on Reason 12), open Preferences → Control Surfaces → Add Manually and add both:
| Surface | Manufacturer | Model | Input port | Output port |
|---|---|---|---|---|
| Auto-follow | Automate Pros | Stream Deck+ Remote | loopMIDI Port 1 | loopMIDI Port 2 |
| Master | Automate Pros | Stream Deck+ Master | loopMIDI Port 3 | loopMIDI Port 4 |
Turn Easy MIDI off for both. Leave Master Keyboard ticked on the Stream Deck+ Remote surface, or the piano won't play.
4. Lock the Master surface#
This is the one step the installer can't do for you, and it's easy to miss. Until it's done, the Master surface follows your selection like any other surface, and the mixer stops working as soon as you click an instrument.
- In Reason's menu, choose Options → Remote and Keyboard Control → Surface Locking…
- Surface:
Automate Pros Stream Deck+ Master - Lock to Device:
Master Section (Master Section) - Close the dialog.
Leave Stream Deck+ Remote unlocked, because its job is to follow your selection.
5. Try it#
- Make sure loopMIDI, Reason and the Stream Deck software are all running.
- Click a SubTractor in the rack. The deck switches to the SubTractor page.
- Turn a dial. The parameter moves in Reason.
- Click a Thor. The deck follows.
- Touch and hold the touch strip. The deck jumps to the Document page, which has the transport controls. Hold again to go back to Thor.
- On the Document page, press Mix and turn dial 1. The channel 1 fader in Reason's main mixer moves.
If nothing switches, see Troubleshooting. Once it works, read Getting around. It explains every way to move between pages.